Worlds
From IdleOn MMO Wiki
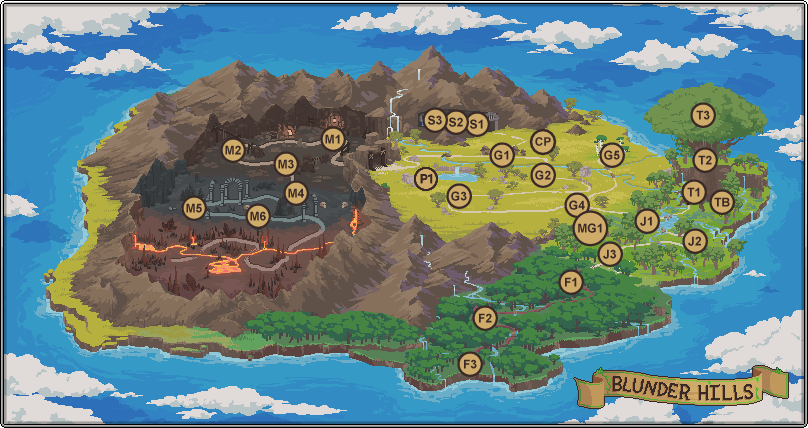
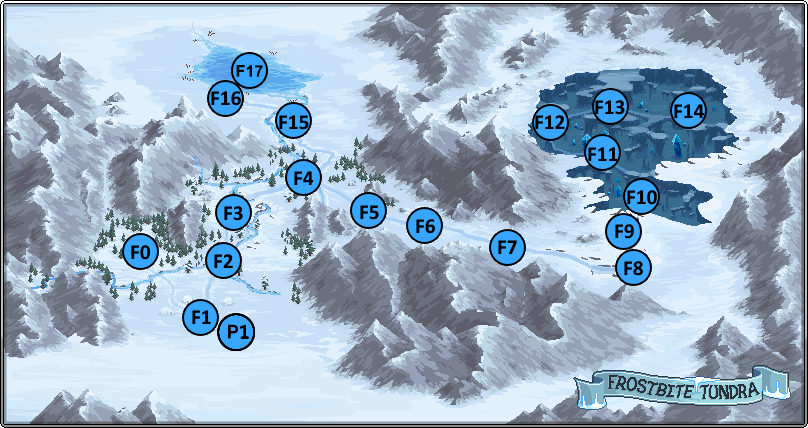
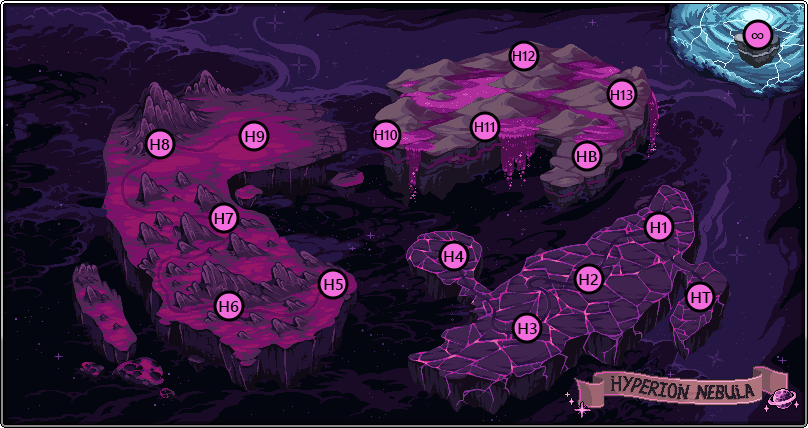
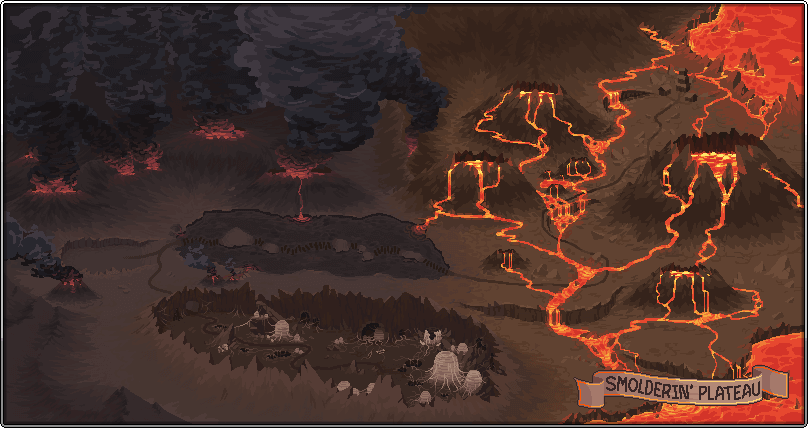
There are currently six in-game worlds:
- Blunder Hills (the introductory world)
- Yum-Yum Desert (unlocked after defeating Amarok)
- Frostbite Tundra (unlocked after defeating Efaunt)
- Hyperion Nebula (unlocked after defeating Chizoar)
- Smolderin' Plateau (unlocked after defeating The Troll)
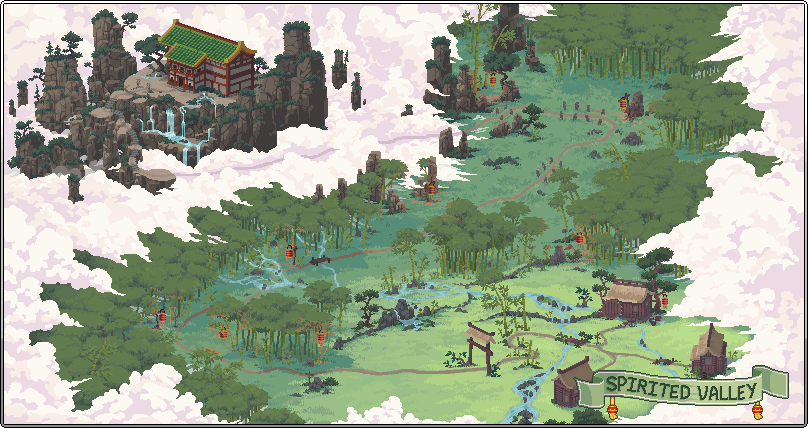
- Spirited Valley (unlocked after defeating Kattlecruk)
Requirements to access the skilling and monster maps and mob amount of any given world can be found at Portal Requirements.
World 1 - Blunder Hills
^
BT - Blunder Hills
| Img | Name | Info |
|---|---|---|
|
Forge | Convert Ore to Bars |

|
Anvil | Smithing Interface |

|
Scripticus | NPC |

|
Doggy | NPC / Companions Park warp |

|
Town Marble | NPC / Statues Interface |

|
Mr Pigibank | NPC / Stamps Interface |

|
Grasslands Gary | NPC / Blunder Hills Taskboard |

|
Storage Chest | Account-wide Item Storage |

|
Blunder Hills Vendor | Vendor |
| Builder Bird | NPC | |

|
Desert Portal | Portal to Yum-Yum Desert |
^
BCP - Companion Park
| Img | Name | Info |
|---|---|---|

|
Doggy | NPC / Blunder Hills town warp |
^
B1 - Spore Meadows
| Img | Name | Info |
|---|---|---|
| Green Mushroom | Enemy | |

|
Woodsman | NPC |

|
Oak Tree (Choppin) | Source for |
^
B2 - Froggy Fields
| Img | Name | Info |
|---|---|---|
| Dewdrop Colosseum | Requires 1x | |
| Frog | Enemy | |

|
Typhoon | NPC |

|
Picnic Stowaway | NPC |

|
Hamish | NPC |

|
Rocklyte | Secret NPC |
^
BP - Grandfrog's Backyard
| Img | Name | Info |
|---|---|---|
| Frog | Enemy | |

|
Toadstall | NPC |
|
Grandfrog's Gazebo | Dungeon Entrance |
^
B3 - Valley Of The Beans
| Img | Name | Info |
|---|---|---|
| Bored Bean | Enemy | |
|
Promotheus | NPC (Class Choice) |
|
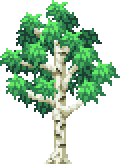
Birch Tree (Choppin) | Source for |
^
B10 - Birch Enclave
| Img | Name | Info |
|---|---|---|
|
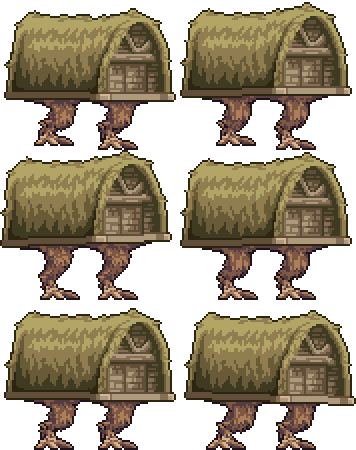
Baba Yaga | Optional Miniboss. Spawns at the top of every hour. |
| Red Mushroom | Enemy |
^
BG2 - Grand Owl Perch
| Img | Name | Info |
|---|---|---|

|
Orion | The Orion MiniGame. |
^
B4 - Jungle Perimeter
| Img | Name | Info |
|---|---|---|
| Slime | Enemy | |

|
Stiltzcho | NPC |

|
Froge (Trapping) | Source for |
^
B5 - Winding Willows
| Img | Name | Info |
|---|---|---|

|
Baby Boa | Enemy |

|
Funguy | NPC |
^
B6 - Vegetable Patch
| Img | Name | Info |
|---|---|---|

|
Carrotman | Enemy |

|
Jungle Tree (Choppin) | Source for |

|
Bushlyte | Secrets NPC |
^
BG1 - Spike Surprise
| Img | Name | Info |
|---|---|---|

|
Spike Surprise Minigame | You can also get here by typing "If u love me let me go" in the chat. Starts at the top of every hour. Play for gems and glory. |
^
B7 - Forest Outskirts
| Img | Name | Info |
|---|---|---|

|
Glublin | Enemy |

|
Goblin Gorefest | Worship Totem (Tower Defence) Source for |
^
B8 - Encroaching Forest Villas
| Img | Name | Info |
|---|---|---|

|
Wode Board | Enemy |

|
Dog Bone | NPC |

|
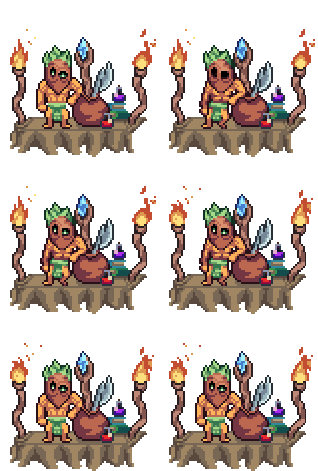
Tiki Chief | NPC |
|
Encroaching Forest Villas Vendor | Vendor |
FB - Amarok Arena
| Img | Name | Info |
|---|---|---|

|
Amarok | World Boss. Requires 1 |
^
B9 - Tucked Away
| Img | Name | Info |
|---|---|---|

|
Gigafrog | Enemy |

|
Papua Piggea | NPC |

|
Choppin (Forest Tree) | Source for |
^
B11 - The Base Of The Bark
| Img | Name | Info |
|---|---|---|

|
Walking Stick | Enemy |

|
Sprout | NPC |
^
B12 - Hollowed Trunk
| Img | Name | Info |
|---|---|---|

|
Nutto | Enemy |

|
Stump Tree (Choppin) | Source for |

|
Dazey | NPC |

|
Owlio (Trapping) | Source for |
^
B13 - Where the Branches End
| Img | Name | Info |
|---|---|---|
| Wood Mushroom | Enemy | |

|
Telescope | NPC / Star Signs Interface |
^
B14 - The Roots
| Img | Name | Info |
|---|---|---|

|
Nutto | Enemy |

|
Acorn Assault | Worship Totem (Tower Defence) Source for |
^
KM1 - Tunnels Entrance
| Img | Name | Info |
|---|---|---|
| Copper Vein (Mining) | Source for | |

|
Forge | Convert Ore into Bars |
|
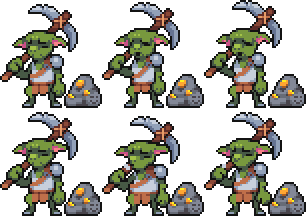
Glumlee | NPC |
^
KM2 - Freefall Caverns
| Img | Name | Info |
|---|---|---|
| Iron Vein (Mining) | Source for | |
| Gold Vein (Mining) | Source for | |

|
Krunk | NPC |

|
Mutton | NPC |
^
KM3 - The Ol Straightaway
| Img | Name | Info |
|---|---|---|
| Platinum Vein (Mining) | Source for | |
| Dementia Vein (Mining) | Source for |
^
KM4 - Echoing Egress
| Img | Name | Info |
|---|---|---|
| Void Vein (Mining) | Source for | |
| Lustre Vein (Mining) | Source for |
^
KM5 - Slip Slidy Ledges
| Img | Name | Info |
|---|---|---|
| Starfire Vein (Mining) | Source for | |
| Dreadlo Vein (Mining) | Source for | |

|
Keymaster | NPC / Idle Skilling Secret |
^
KM6 - Motherlode Pit
| Img | Name | Info |
|---|---|---|
| Godshard Vein (Mining) | Source for |
^
BS1 - Poopy Sewers
| Img | Name | Info |
|---|---|---|

|
Poop | Enemy |
|
Toilet Tree (Choppin) | Source for |
^
BS2 - Rats Nest
| Img | Name | Info |
|---|---|---|

|
Rat | Enemy |

|
TP Pete | NPC |

|
Mousey (Trapping) | Source for |
^
BS3 - The Office
| Img | Name | Info |
|---|---|---|

|
Dr Defecaus | Optional Miniboss. Spawns daily. |

|
Poop | Enemy |
BS4 - The Crypt
| Img | Name | Info |
|---|---|---|

|
Meel | Secret NPC |

|
Boop | Secret Enemy |
World 2 - Yum-Yum Desert
^
DT - YumYum Grotto
| Img | Name | Info |
|---|---|---|

|
Alchemy Cauldron | Alchemy Interface |
|
YumYum Grotto Shop | Vendor |

|
Obol Altar | NPC / Obols Interface |

|
Postboy Pablob | NPC / Post Office |

|
Cowbo Jones | NPC |

|
Storage Chest | Account-wide Item Storage |

|
Desert Davey | NPC / Yum-Yum Desert Taskboard |

|
Clown | NPC / Arcade |

|
Voter Slime | Bonus Ballot Interface |

|
Killroy | NPC / Killroy's Slaughterhouse |

|
Walupiggy | NPC |

|
Weekly Battles | Weekly Battles Interface |
| Constructor Crow | NPC |
^
KF1 - Salty Shores
| Img | Name | Info |
|---|---|---|

|
Fishing Spot | Small Fishing spots |

|
Fishing Rack | Change Fishing Accessories |

|
Whattso | NPC |

|
Crabbo (Trapping) | Source for |
^
KF2 - Faraway Piers
| Img | Name | Info |
|---|---|---|

|
Fishing Spot | Small Fishing spots |

|
Fishing Rack | Change Fishing Accessories |

|
Scubidew | NPC |

|
Fishpaste97 | NPC |
|
Faraway Piers Shop | Vendor |
^
KF3 - Deepwater Docks
| Img | Name | Info |
|---|---|---|

|
Large Fishing Spot | Medium Fishing Spots |

|
Fishing Rack | Change Fishing Accessories |
|
Omar Da Ogar | NPC |
|
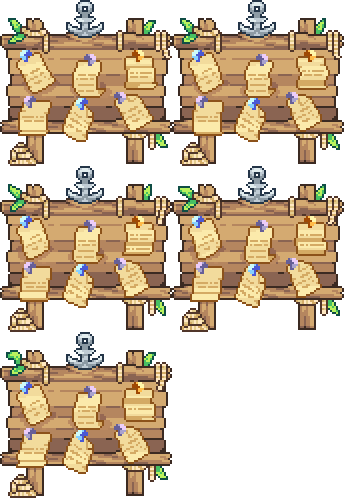
Island Expedition Board | Island Expeditions Notice Board, access this to unlock New Islands - using |

|
Island Expedition Raft | Island Expeditions Raft, used to travel to other Islands (Once unlocked from Board) |
^
D1 - Jar Bridge
| Img | Name | Info |
|---|---|---|
| Sandy Pot | Enemy | |

|
Fly Nest (Catching) | Source for |
^
D2 - The Mimic Hole
| Img | Name | Info |
|---|---|---|

|
Mimic | Enemy |
| Sandstone Colosseum | Requires 2x | |

|
Centurion | NPC |
|
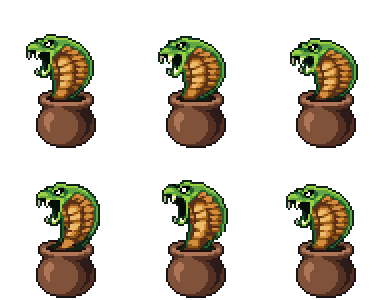
Snake Jar | NPC |

|
Biggie Hours | Secret MiniBoss |
^
D3 - Bandit Bob's Hideout
| Img | Name | Info |
|---|---|---|

|
Bandit Bob | NPC |

|
Butterfly Bar (Catching) | Source for |
^
DP - Heaty Hole
| Img | Name | Info |
|---|---|---|

|
Mimic | Enemy |
|
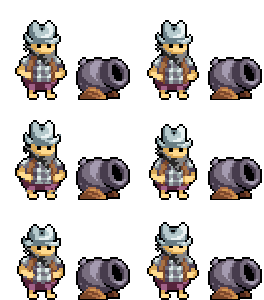
Gangster Gus | NPC |
|
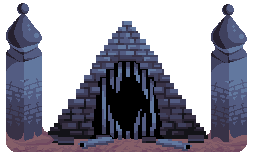
Crypt of Snakenhotep | Dungeon Entrance |
^
D4 - Dessert Dunes
| Img | Name | Info |
|---|---|---|

|
Crabcake | Enemy |
|
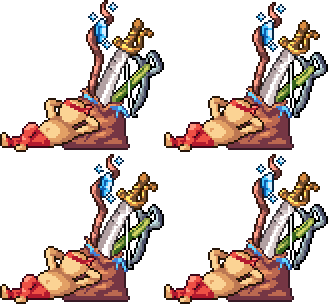
Speccius | NPC (Subclass Choice) |

|
Palm Tree (Choppin) | Source for |
^
DG1 - The Oasis
| Img | Name | Info |
|---|---|---|
|
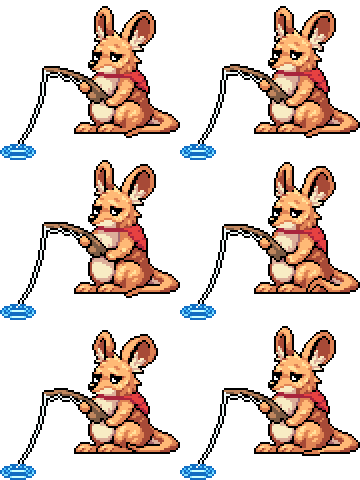
Poppy | The Poppy MiniGame |
^
D5 - The Grandioso Canyon
| Img | Name | Info |
|---|---|---|

|
Mafioso | Enemy |

|
XxX Cattleprod XxX | NPC |
^
D6 - Shifty Sandbox
| Img | Name | Info |
|---|---|---|

|
Sand Castle | Enemy |

|
Goldric | NPC |
^
D7 - Pincer Plateau
| Img | Name | Info |
|---|---|---|

|
Pincermin | Enemy |

|
Sentient Bowl (Catching) | Source for |
^
D8 - Slamabam Straightaway
| Img | Name | Info |
|---|---|---|

|
Mashed Potato | Enemy |

|
Carpetiem | NPC |
^
D9 - The Ring
| Img | Name | Info |
|---|---|---|

|
Tyson | Enemy |

|
Scorpie (Trapping) | Source for |
^
D10 - Up Up Down Down
| Img | Name | Info |
|---|---|---|

|
Moonmoon | Enemy |

|
Loominadi | NPC |

|
Grocery Bag (Catching) | Source for |

|
Wakawaka War | Worship Totem (Tower Defence) Source for |
^
D11 - Sands of Time
| Img | Name | Info |
|---|---|---|

|
Sand Giant | Enemy |

|
Wellington | NPC |
^
D12 - Djonnuttown
| Img | Name | Info |
|---|---|---|
|
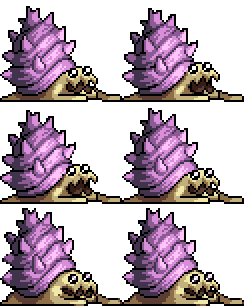
Snelbie | Enemy |

|
Djonnut | NPC |

|
Cactolyte | Secret NPC |
^
DB - Efaunts Tomb
| Img | Name | Info |
|---|---|---|

|
Efaunt | World Boss. Requires 1 |

|
Dung Beat (Trapping) | Source for |
World 3 - Frostbite Tundra
^
KT - Trappers Folley
| Img | Name | Info |
|---|---|---|
|
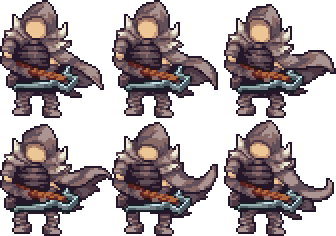
Lord of the Hunt | NPC |
^
FT - Frostbite Towndra
| Img | Name | Info |
|---|---|---|
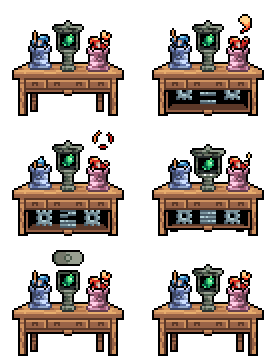
|
Construction Table | Construction |

|
Refinery | Construction |

|
3D Printer | Construction (Built) |

|
Talent Book Library | Construction (Built) |

|
Death Note | Construction (Built) |

|
Salt Lick | Construction (Built) |

|
Auto Arm | Construction (Built) |

|
Auto Arm - EZ Totem Extension | Construction (Built) |
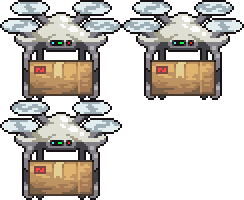
|
Critter Drone | Construction (Built) |

|
Atom Collider | Construction (Built) |
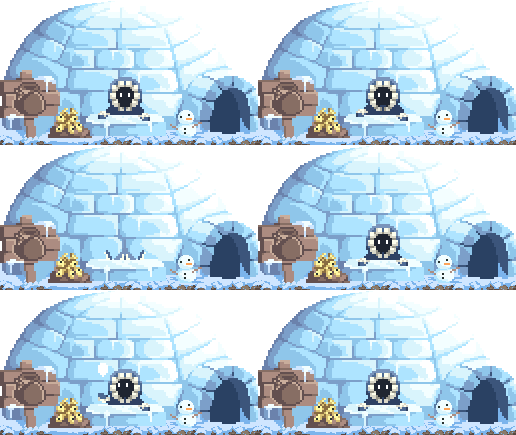
|
Frostbite Towndra Shop | Vendor |

|
Storage Chest | Account-wide Item Storage |
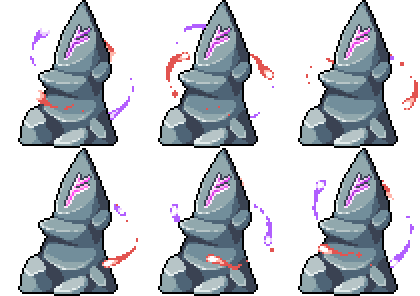
|
Prayer Stone | Worship |

|
Iceland Irwin | NPC / Frostbite Tundra Taskboard |

|
Hoggindaz | NPC |
| Carpenter Cardinal | NPC |
^
FP - Inside the Igloo
| Img | Name | Info |
|---|---|---|

|
Sheepie | Enemy |

|
Worldo | NPC |

|
Glacial Basement | Dungeon Entrance |
^
F1 - Steep Sheep Ledge
| Img | Name | Info |
|---|---|---|

|
Sheepie | Enemy |

|
Saharan Foal (Choppin) | Source for |
^
F2 - Snowfield Outskirts
| Img | Name | Info |
|---|---|---|
| Frost Flake | Enemy | |
|
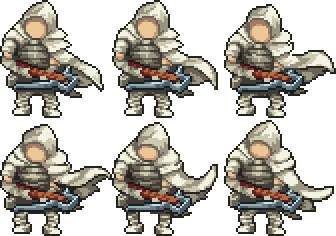
Lonely Hunter | NPC |
| Chillsnap Colosseum | Requires 3x |
^
F3 - The Stache Split
| Img | Name | Info |
|---|---|---|

|
Sir Stache | Enemy |

|
Pingy (Trapping) | Source for |

|
Snouts | NPC |
^
F4 - Refrigeration Station
| Img | Name | Info |
|---|---|---|
| Bloque | Enemy | |

|
Dilapidated Slush | Secret MiniBoss |
^
F5 - Mamooooth Mountain
| Img | Name | Info |
|---|---|---|

|
Mamooth | Enemy |

|
Shuvelle | NPC |
|
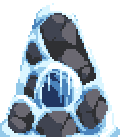
Snowden (Catching) | Source for |
^
F6 - Rollin' Tundra
| Img | Name | Info |
|---|---|---|
| Snowman | Enemy | |

|
Frosty Firefight | Worship Totem (Tower Defence) Source for |
^
F7 - Signature Slopes
| Img | Name | Info |
|---|---|---|

|
Penguin | Enemy |

|
Yondergreen | NPC |
^
F8 - Thermonuclear Climb
| Img | Name | Info |
|---|---|---|

|
Thermister | Enemy |

|
Bunny (Trapping) | Source for |
^
F9 - Waterlogged Entrance
| Img | Name | Info |
|---|---|---|
| Quenchie | Enemy | |

|
Wispy Tree (Choppin) | Source for |
^
F10 - Cryo Catacombs
| Img | Name | Info |
|---|---|---|

|
Cryosnake | Enemy |

|
Crystalswine | NPC |
^
F11 - Overpass of Sound
| Img | Name | Info |
|---|---|---|

|
Bop Box | Enemy |

|
Bill Brr | NPC |

|
Icicle Nest (Catching) | Source for |
^
F12 - Crystal Basecamp
| Img | Name | Info |
|---|---|---|

|
Neyeptune | Enemy |

|
Bellows | NPC |
^
FB - Chizoar's Cavern
| Img | Name | Info |
|---|---|---|

|
Chizoar | World Boss. Requires 1 |
^
F13 - Wam Wonderland
| Img | Name | Info |
|---|---|---|

|
Dedotated Ram | Enemy |

|
Honker (Trapping) | Source for |
^
F14 - Hell Hath Frozen Over
| Img | Name | Info |
|---|---|---|

|
Bloodbone | Enemy |
^
FE - Equinox Valley
| Img | Name | Info |
|---|---|---|

|
Equinox Valley Mirror | Equinox' Dreams Provider |
World 4 - Hyperion Nebula
^
HT - Outer World Town
| Img | Name | Info |
|---|---|---|

|
Gobo | NPC |
|
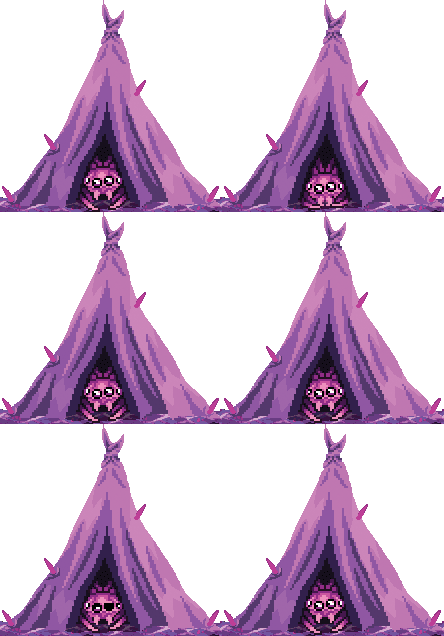
Outer World Town Shop | Vendor |

|
Egg Nest | Breeding Interface |

|
Laboratory Mainframe | Laboratory Interface |

|
Cooking Table | Recipe Cooking Interface |

|
Cooking Menu | Meal Upgrade Interface |

|
The Tome | The Tome Interface |

|
Storage Chest | Account-wide Item Storage |

|
Nebula Neddy | NPC / Hyperion Nebula Taskboard |

|
Architect Toucan | NPC |
^
H1 - Spaceway Raceway
| Img | Name | Info |
|---|---|---|

|
Purp Mushroom | Enemy |

|
Mutated Mush | Secret MiniBoss |
^
H2 - TV Outpost
| Img | Name | Info |
|---|---|---|

|
TV | Enemy |
| Astro Colosseum | Requires 6x |
^
H3 - Donut Drive-In
| Img | Name | Info |
|---|---|---|

|
Oinkin | NPC |

|
Donut | Enemy |
^
H4 - Outskirts of Fallstar Isle
| Img | Name | Info |
|---|---|---|

|
Demon Genie | Enemy |

|
Alien Tree (Choppin) | Source for |

|
Eliteus | NPC (First Elite Class Choice) |
^
H5 - Mountainous Deugh
| Img | Name | Info |
|---|---|---|

|
Soda Can | Enemy |
|
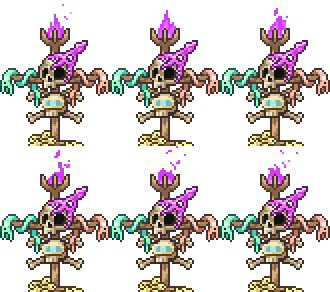
Clash of Cans | Worship Totem (Tower Defence) Source for |
^
H6 - Wurm Highway
| Img | Name | Info |
|---|---|---|

|
Flying Worm | Enemy |
| Royal Worm | NPC |
^
H7 - Jelly Cube Bridge
| Img | Name | Info |
|---|---|---|

|
Gelatinous Cuboid | Enemy |

|
Bee Hive (Catching) | Source for |

|
Capital P | NPC |
^
H8 - Cocoa Tunnel
| Img | Name | Info |
|---|---|---|

|
Blobbo | NPC |

|
Blobfish | Trapping Critter |

|
Choccie | Enemy |
^
H9 - Standstill Plains
| Img | Name | Info |
|---|---|---|

|
Biggole Wurm | Enemy |
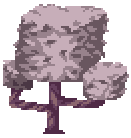
|
Cubed Tree (Choppin) | Source for |
^
H10 - Shelled Shores
| Img | Name | Info |
|---|---|---|
| Clammie | Enemy | |

|
Fairy Hovel (Catching) | Source for |
^
H11 - The Untraveled Octopath
| Img | Name | Info |
|---|---|---|

|
Octodar | Enemy |

|
Rift Ripper | NPC |
^
H12 - Flamboyant Bayou
| Img | Name | Info |
|---|---|---|

|
Flombeige | Enemy |

|
Monolith | NPC |
^
H13 - Enclave of Eyes
| Img | Name | Info |
|---|---|---|
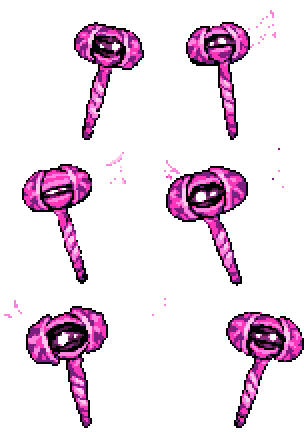
|
Stilted Seeker | Enemy |
^
HB - Enclave a la Troll
| Img | Name | Info |
|---|---|---|

|
Massive Troll | World Boss. Requires 1/5/60 |
| Img | Name | Info |
|---|---|---|

|
Rift Ripper | NPC |
World 5 - Smolderin' Plateau
^
ST - Magma Rivertown
| Img | Name | Info |
|---|---|---|

|
Muhmuguh | NPC |

|
Magma Rivertown Shop | Vendor |
| The Slab | The Slab Interface | |
| Sailing Map | Sailing Interface | |
| Gaming Console | Gaming Interface | |
| Divinity Altar | Divinity Interface | |

|
Storage Chest | Account-wide Item Storage |
| Portale Peacock | NPC | |

|
Lava Larry | NPC / Smolderin' Plateau Taskboard |
^
S1 - Naut Sake Perimeter
| Img | Name | Info |
|---|---|---|

|
Slargon | NPC |

|
Suggma | Enemy |
^
S2 - Niagrilled Falls
| Img | Name | Info |
|---|---|---|

|
Maccie | Enemy |
| Molten Colosseum | Requires 10x |
^
S3 - The Killer Roundabout
| Img | Name | Info |
|---|---|---|

|
Maple Tree (Choppin) | Source for |

|
Mister Brightside | Enemy |

|
Domeo Magmus | Secret MiniBoss |
^
S4 - Cracker Jack Lake
| Img | Name | Info |
|---|---|---|

|
Pirate Porkchop | NPC |

|
Cheese Nub | Enemy |
^
S5 - The Great Molehill
| Img | Name | Info |
|---|---|---|

|
Scarab Nest (Catching) | Source for |

|
Stiltmole | Enemy |
^
S6 - Erruption River
| Img | Name | Info |
|---|---|---|

|
Dandelioli Tree (Choppin) | Source for |

|
Molti | Enemy |
^
S7 - Mount Doomish
| Img | Name | Info |
|---|---|---|

|
Mote Hovel (Catching) | Source for |

|
Purgatory Stalker | Enemy |
^
S8 - OJ Bay
| Img | Name | Info |
|---|---|---|

|
Citringe | Enemy |
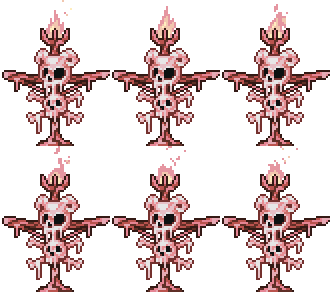
|
Citric Conflict | Worship Totem (Tower Defence) Source for |
^
S9 - Lampar Lake
| Img | Name | Info |
|---|---|---|

|
Poigu | NPC |
| Lampar | Enemy |
^
S10 - Spitfire River
| Img | Name | Info |
|---|---|---|

|
Fire Spirit | Enemy |
^
S11 - Miner Mole Outskirts
| Img | Name | Info |
|---|---|---|

|
Tired Mole | NPC |

|
Biggole Mole | Enemy |
^
S12 - Crawly Catacombs
| Img | Name | Info |
|---|---|---|

|
Crawler | Enemy |
^
S13 - The Worm Nest
| Img | Name | Info |
|---|---|---|

|
Tremor Wurm | Enemy |
^
SB - Kattlekruk's Volcano
| Img | Name | Info |
|---|---|---|
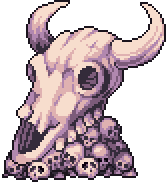
|
Kattlecruk | World Boss. Requires 1/5/70 |
World 6 - Spirited Valley
^
VT - Spirit Village
| Img | Name | Info |
|---|---|---|
|
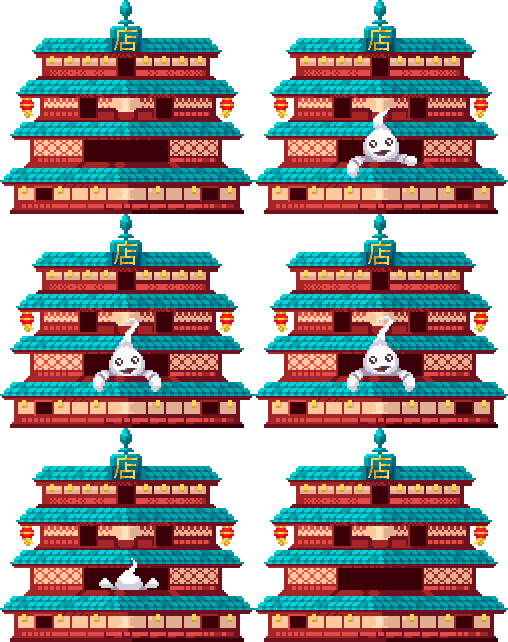
Spirit Village Shop | Vendor |

|
Storage Chest | Account-wide Item Storage |

|
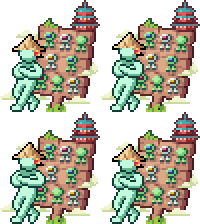
Lafu Shi | NPC |
|
Spirit Sungmin | NPC / Spirited Valley Taskboard |
| Farming | Farming Interface | |

|
Jade Emporium | Jade Coin Shop Vendor |

|
Dojo Tower | Sneaking Interface |
| Summoning | Summoning Interface |
^
V1 - Gooble Goop Creek
| Img | Name | Info |
|---|---|---|

|
Sprout Spirit | Enemy |
^
V2 - Picnic Bridgeways
| Img | Name | Info |
|---|---|---|

|
Ricecake | Enemy |

|
Hoov | NPC |
| Whimsical Colosseum | Requires 30x |
^
V3 - Irrigation Station
| Img | Name | Info |
|---|---|---|

|
River Spirit | Enemy |
|
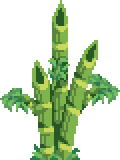
Bamboo Tree (Choppin) | Source for |
^
V4 - Troll Playground
| Img | Name | Info |
|---|---|---|

|
Baby Troll | Enemy |

|
Ladybug Nest (Catching) | Source for |
^
V5 - Edge of the Valley
| Img | Name | Info |
|---|---|---|

|
Woodlin Spirit | Enemy |

|
Woodlin Elder | NPC |
^
V6 - Bamboo Laboredge
| Img | Name | Info |
|---|---|---|
| Portal Requirement must be met on the previous map with 2 characters to enter this map | ||

|
Bamboo Spirit | Enemy |
|
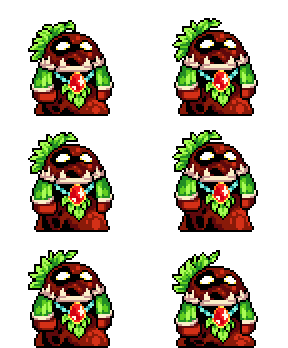
Tribal Shaman | NPC |
^
V7 - Lightway Path
| Img | Name | Info |
|---|---|---|

|
Lantern Spirit | Enemy |

|
Firefly Nest (Catching) | Source for |
^
V8 - Troll Broodnest
| Img | Name | Info |
|---|---|---|

|
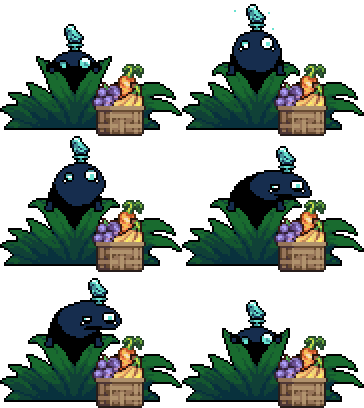
Mama Troll | Enemy |
|
Legumulyte | NPC |

|
Demented Spiritlord | Secret MiniBoss |
^
V9 - Above the Clouds
| Img | Name | Info |
|---|---|---|

|
Leek Spirit | Enemy |

|
Sussy Gene | NPC |
^
V10 - Sleepy Skyline
| Img | Name | Info |
|---|---|---|
| Portal Requirement must be met on the previous map with 5 characters to enter this map | ||

|
Ceramic Spirit | Enemy |

|
Potti | NPC |
^
V11 - Dozey Dogpark
| Img | Name | Info |
|---|---|---|

|
Skydoggie Spirit | Enemy |

|
Effervescent Eucalyptus Tree (Choppin) | Source for |
^
V12 - Yolkrock Basin
| Img | Name | Info |
|---|---|---|
| Portal Requirement must be met on the previous map with 9 characters to enter this map | ||

|
Royal Egg | Enemy |
^
V13 - Chieftain Stairway
| Img | Name | Info |
|---|---|---|

|
Minichief Spirit | Enemy |
^
V14 - Emperor's Castle Doorstep
| Img | Name | Info |
|---|---|---|
|
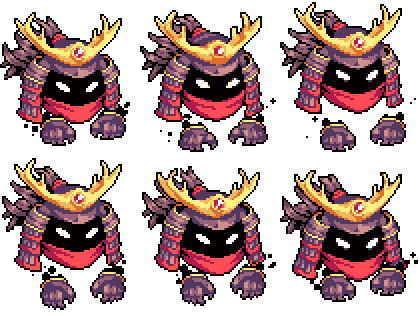
Samurai Guardian | Enemy |
^
VB - Castle Interior
| Img | Name | Info |
|---|

